PIC2LAYERS GUIDES
How Pic2Layers Works
From image upload to slicer-ready files, here is what the generator actually does.
Start with an image
Choose a JPG, PNG or WebP image up to 20 MB. Pic2Layers reads it in your browser and scales the working copy for processing. The original file is not uploaded to a Pic2Layers server. The included landscape example lets you test the controls without selecting a file.
Build a color stack
Choose between two and eight colors. The tool detects representative colors and initially arranges them from dark to light. Each color occupies a band of print layers above a solid common base. This is a practical starting order, not an optical calculation: the best order depends on the translucency of your actual filament. Change a band’s color or move it in the order before exporting.
Inspect the preview
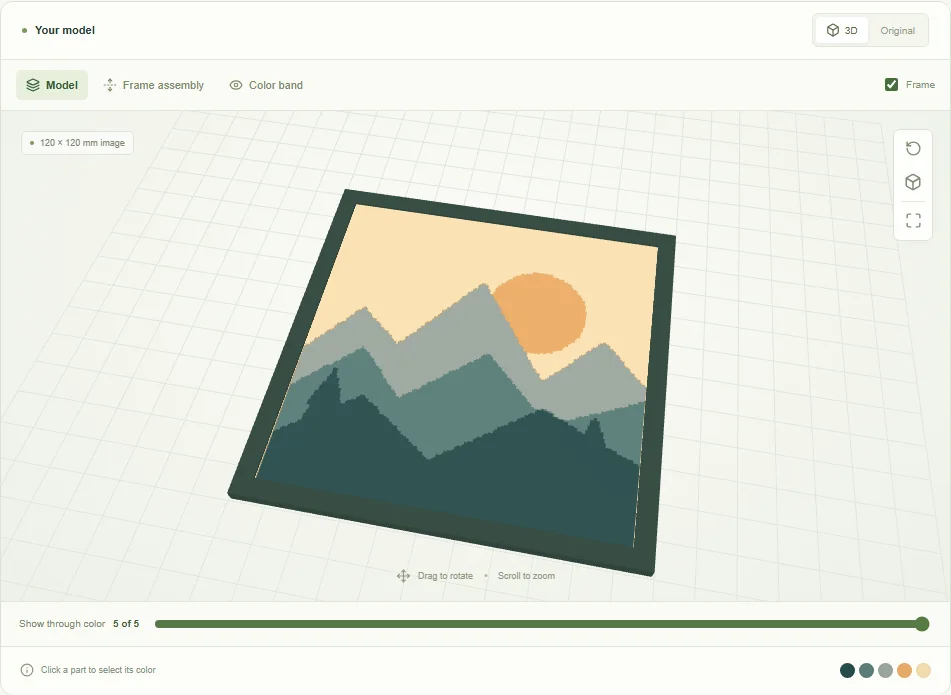
Rotate and zoom the assembled model, view the frame assembly, isolate a color band or show only the lower bands. Click a part in the 3D view to jump to its color control. The bands are views of one stacked print, not separate tiles. The frame and bezel, if selected, are separate printable pieces.
Export and check in your slicer
Download the model directly as 3MF or STL. A 3MF contains editable parts by color; STL does not carry filament assignments, so use the downloadable color-change guide. The optional ZIP includes the model plus a fitted frame and bezel. Set the same layer height in your slicer, check object colors and dimensions, and inspect the sliced preview before starting a print. Pic2Layers does not simulate optical blending or guarantee how a specific filament will look.
Next steps
Read the filament-painting basics or follow the image preparation guide. Open the generator when you are ready to make a model.